Era Baru Perjalanan: Destinasi Wisata Unik & Tips Liburan Seru ala Tokoh Utama
Era Baru Perjalanan: Destinasi Wisata Unik & Tips Liburan Seru ala Tokoh Utama Di tengah hiruk pikuk kehidupan modern, keinginan…
Era Baru Perjalanan: Destinasi Wisata Unik & Tips Liburan Seru ala Tokoh Utama Di tengah hiruk pikuk kehidupan modern, keinginan…
Pendaratan Darurat Dramatis: Kisah Selamat dari Insiden Pesawat di Jalan Tol Florida Pada suatu sore yang ramai di Jalan Tol…
Membangun Kembali Destinasi Sumatra: Analisis Kebijakan Pemulihan dan Prospek Pariwisata Pasca-Bencana Dampak bencana alam di beberapa wilayah Sumatra telah meninggalkan…
Memastikan Pariwisata Nataru 2025/2026 Aman dan Berkesan: Fokus Pelayanan dan Keberlanjutan Destinasi Libur Natal dan Tahun Baru, atau yang sering…
Meningkatkan Kualitas Staycation: Inovasi Google Gemini pada Galaxy S25 Ultra untuk Liburan di Rumah yang Lebih Kreatif Fenomena staycation atau…
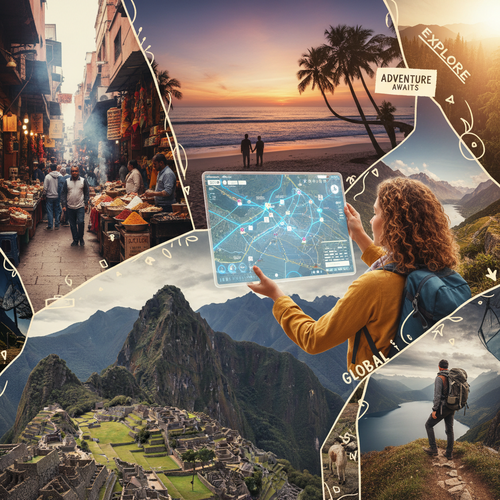
Era Baru Petualangan: Mengungkap Tren dan Tantangan Perjalanan Modern Perjalanan liburan telah mengalami transformasi signifikan dalam beberapa tahun terakhir. Dari…
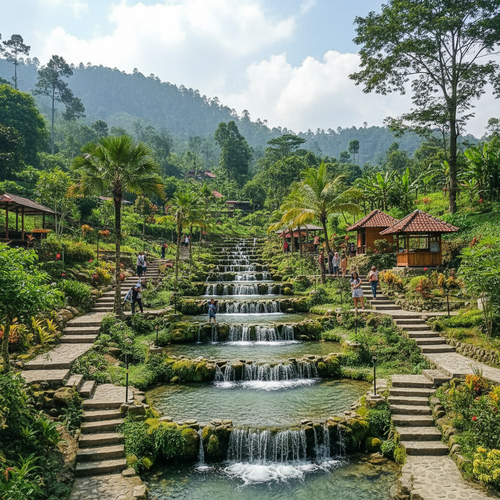
Objek Wisata Guci: Semangat Pemulihan dan Potensi Pariwisata Tegal, Jawa Tengah Kawasan Objek wisata Guci di Tegal, Jawa Tengah, sempat…
Sensasi Mengumpulkan di Era Digital: Ketika Blu-ray Castlevania Menjadi Bagian Rencana Perjalanan Anda Di tengah gempuran konten digital dan platform…
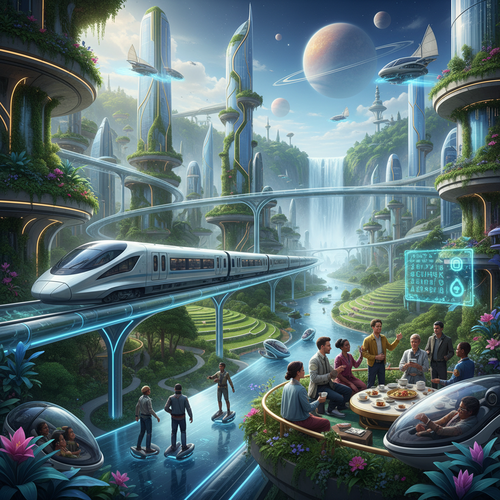
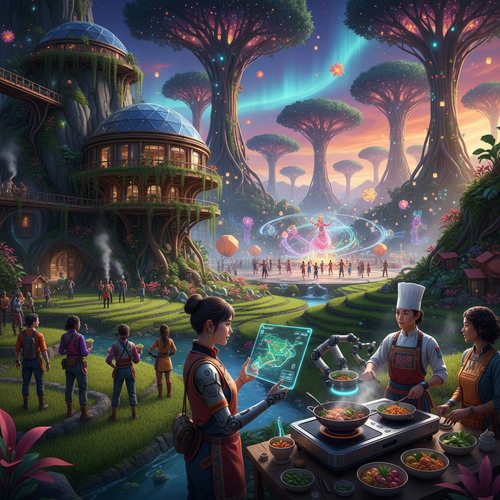
Menyingkap Cakrawala Baru: Evolusi dan Masa Depan Perjalanan Impian Perjalanan adalah sebuah narasi abadi dalam sejarah manusia, sebuah kisah tentang…
Wisata Keluarga di Indonesia: Membangun Kenangan, Memperkuat Ikatan di Tengah Tantangan Modern Dalam hiruk-pikuk kehidupan modern, waktu berkualitas bersama keluarga…